Getting Started: A Beginner’s Guide To Cross Stitch
Never tried cross stitching before? Don’t worry we’ve got you covered! Cross stitch is actually one of the simplest crafts to learn, so pick up your canvas, follow along with the instructions and you’ll be creating amazing designs in no time!

Preparation
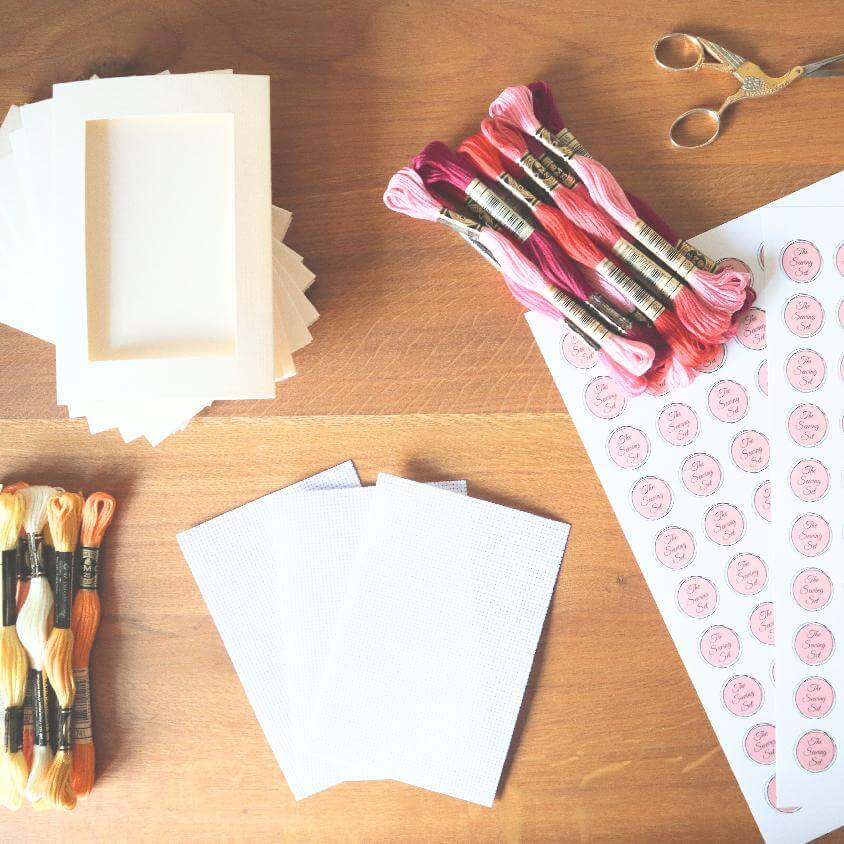
Start by separating the threads into individual colours. Take care, they can tangle very easily! From the colour key, identify the symbol used in the stitching chart for each colour. We suggest making a hole-punched card to keep separated threads on and drawing the appropriate symbol next to each colour.
Always ensure that you centralise the design on the canvas. Start by measuring the canvas to find the centre. If you wish you can mark the centre with a loose stitch which is easily removed later. Then find the centre of the design. Either start stitching at the centre, or carefully count to the position where you would like to start.
Using The Chart
- One symbol square on the chart equals one full cross stitch. Our designs do not use half or quarter stitches.
- You may find it helpful to shade or colour in the squares on the chart as you work them on the canvas.
- Always count your stitches carefully.
Stitching
- Always stitch using an even tension to give a smooth finish. Be careful not to pull stitches too tightly.
- Never use knots to start or end stitching.
- You can work from left to right or vice versa as you prefer. Just do take care that the top threads of the crosses always run the same way.
- Always use two strands of thread for cross stitching unless otherwise stated.
- Be careful to check that you pull all the thread through the canvas on each stitch. It is very easy for it to become tangled at the back. Occasionally let your needle and thread hang freely to unwind any twists.
- Try not to trail lengths of thread over the back of blank canvas when moving from one section of a design to another, as this may show through on the completed work. You can usually get away with jumping across a couple of squares, so long as the thread does not cross directly behind the holes in the canvas.
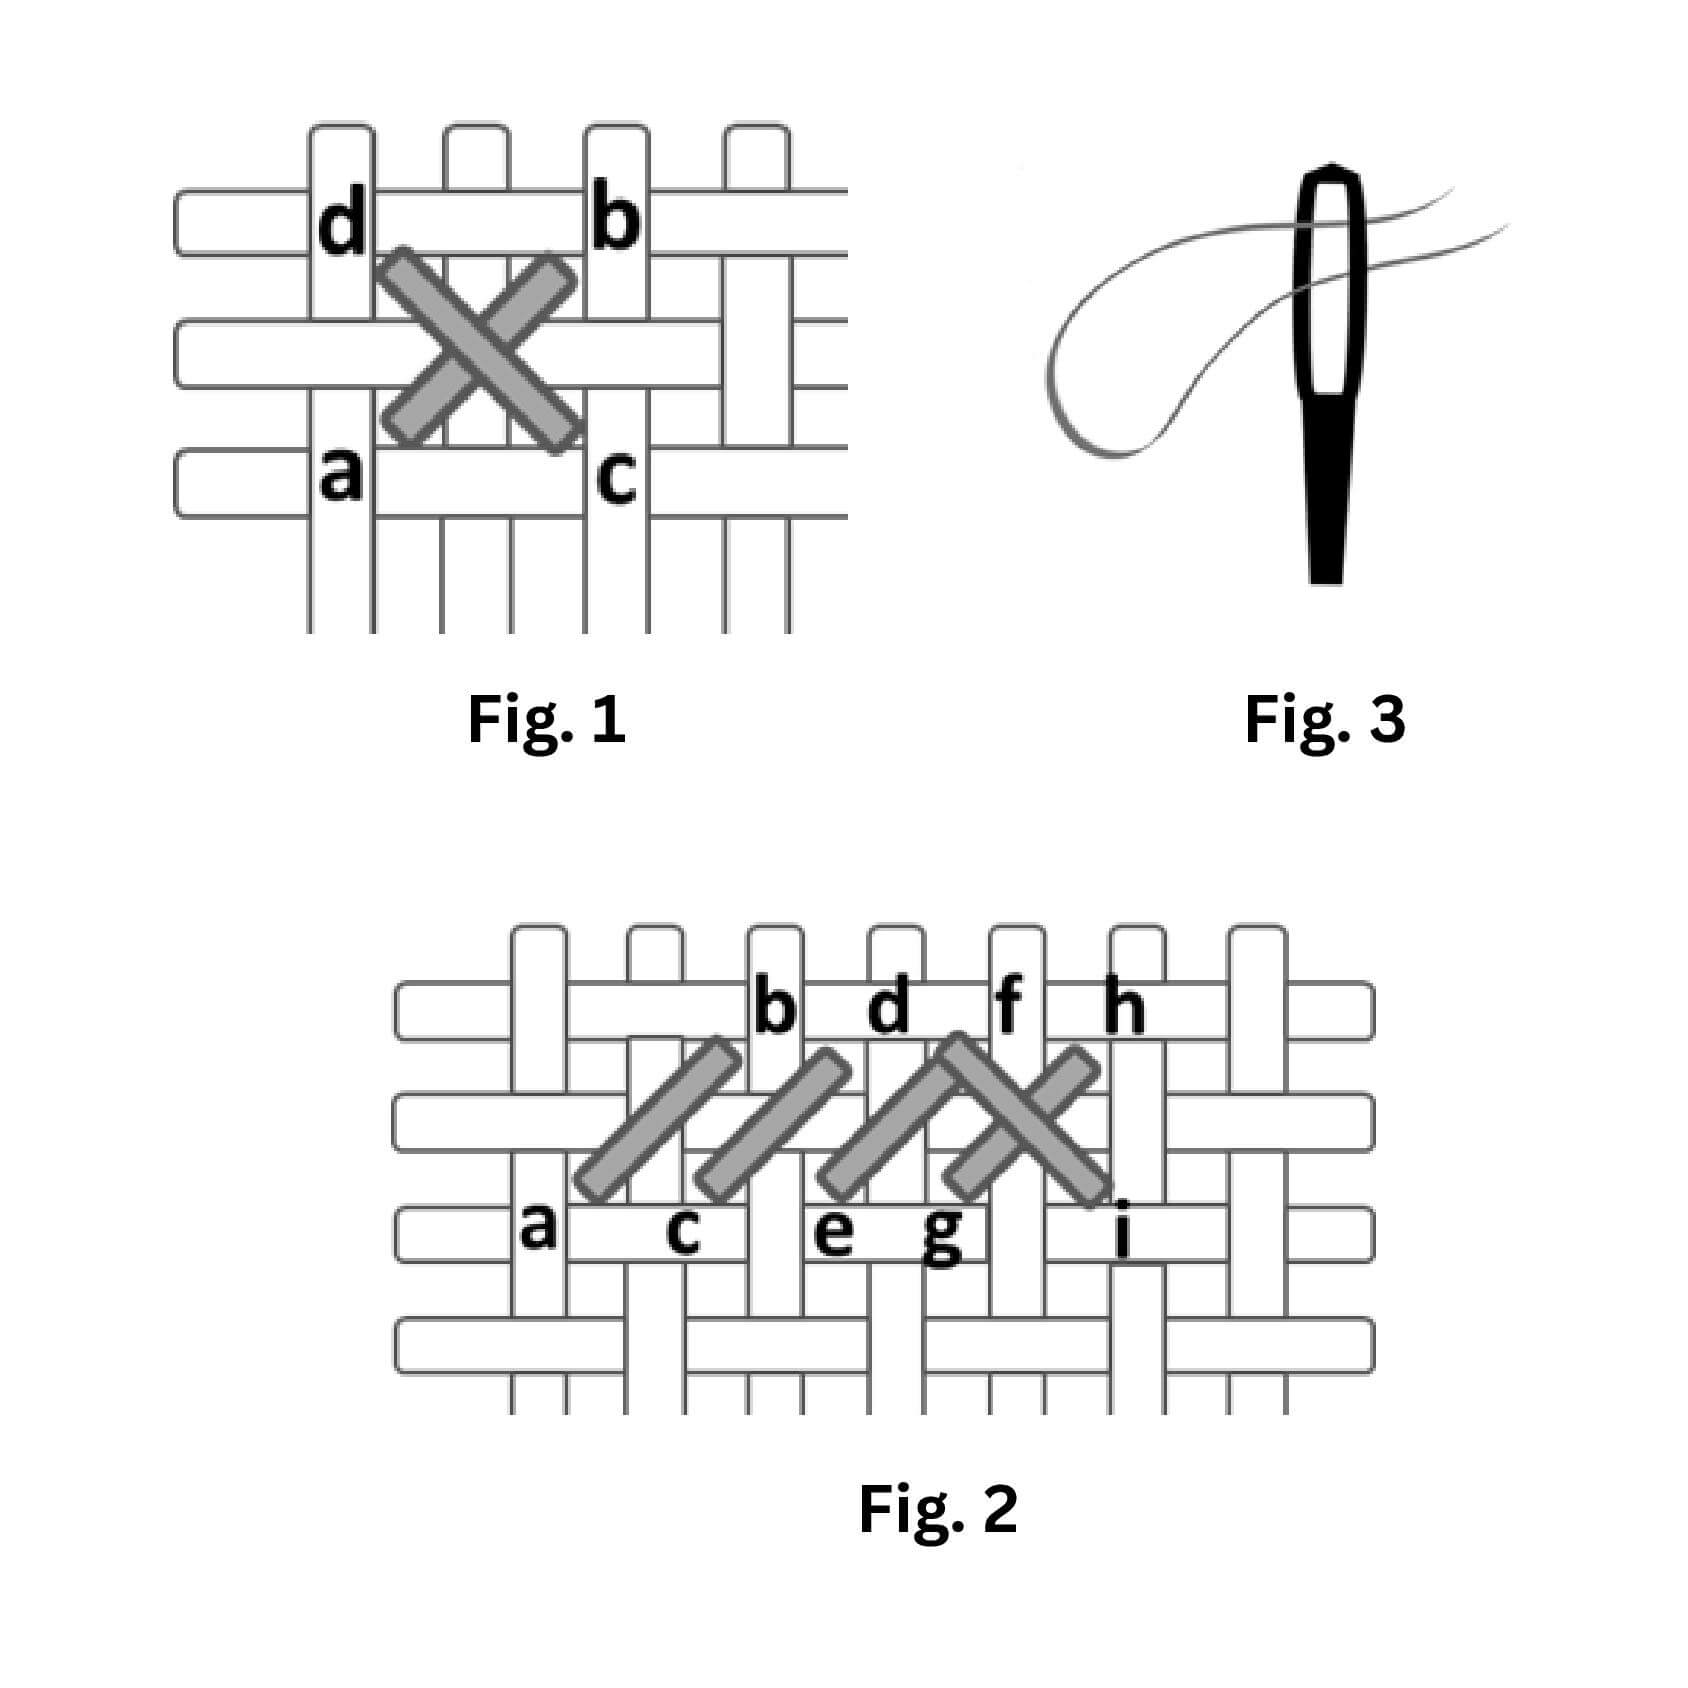
Cross stitches are created by stitching diagonally through the holes at the corners of the squares in the canvas. Referring to fig. 1 below, to make one stitch, bring your needle through from the back at the bottom left (a) and return at (b). Then come back through from bottom right (c) and return through (d). You can work one stitch at a time in this way, or do a run of underneath diagonal stitches and then return doing the top half (fig. 2). There are no rules!
The simplest way to start with a new thread is to fold it in half and pass the two loose ends together through the needle (fig. 3). Work the first half of the stitch by passing the needle through the canvas from the back and secure the thread by passing the needle through the loop at the back of the canvas. Alternatively you can use two parallel threads of the same length. Leave a short length of thread at the back and secure it by working the next stitches over it. To finish off, pass the needle through the back of a number of stitches to secure the thread and trim the end.
Mounting On Tags
- Do not iron your work before mounting as this will flatten the stitches.
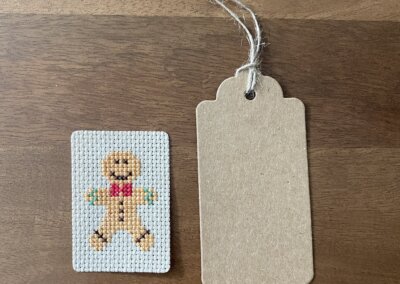
- Trim the canvas to fit the tag. We find gently rounding off the corners looks best!
- Attach double-sided sticky tape around the edges on the back of the canvas. Carefully position and lower the canvas onto the tag and press firmly.

Mounting On Cards
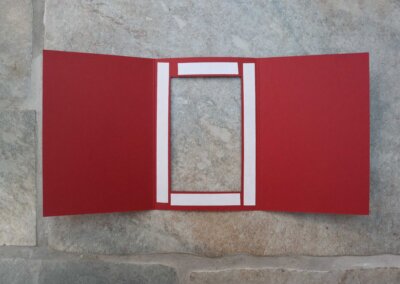
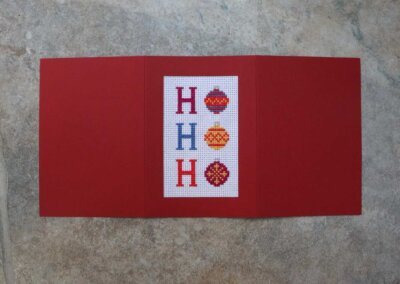
- Trim the canvas to fit the aperture and not stick out over the edges of the card.
- Attach double-sided sticky tape around the edges on the aperture window of the card, and the left-hand side piece of card. Remove the tape backing around the aperture window first, and then carefully lower the card onto the canvas (design facing up), and press firmly.
- The remove the tape backing from the left-hand side piece of card and press that onto the centre piece of card with the canvas sandwiched in between.
- Press down firmly on all edges, sometimes leaving it underneath a stack of heavy books for a few hours can help!

